
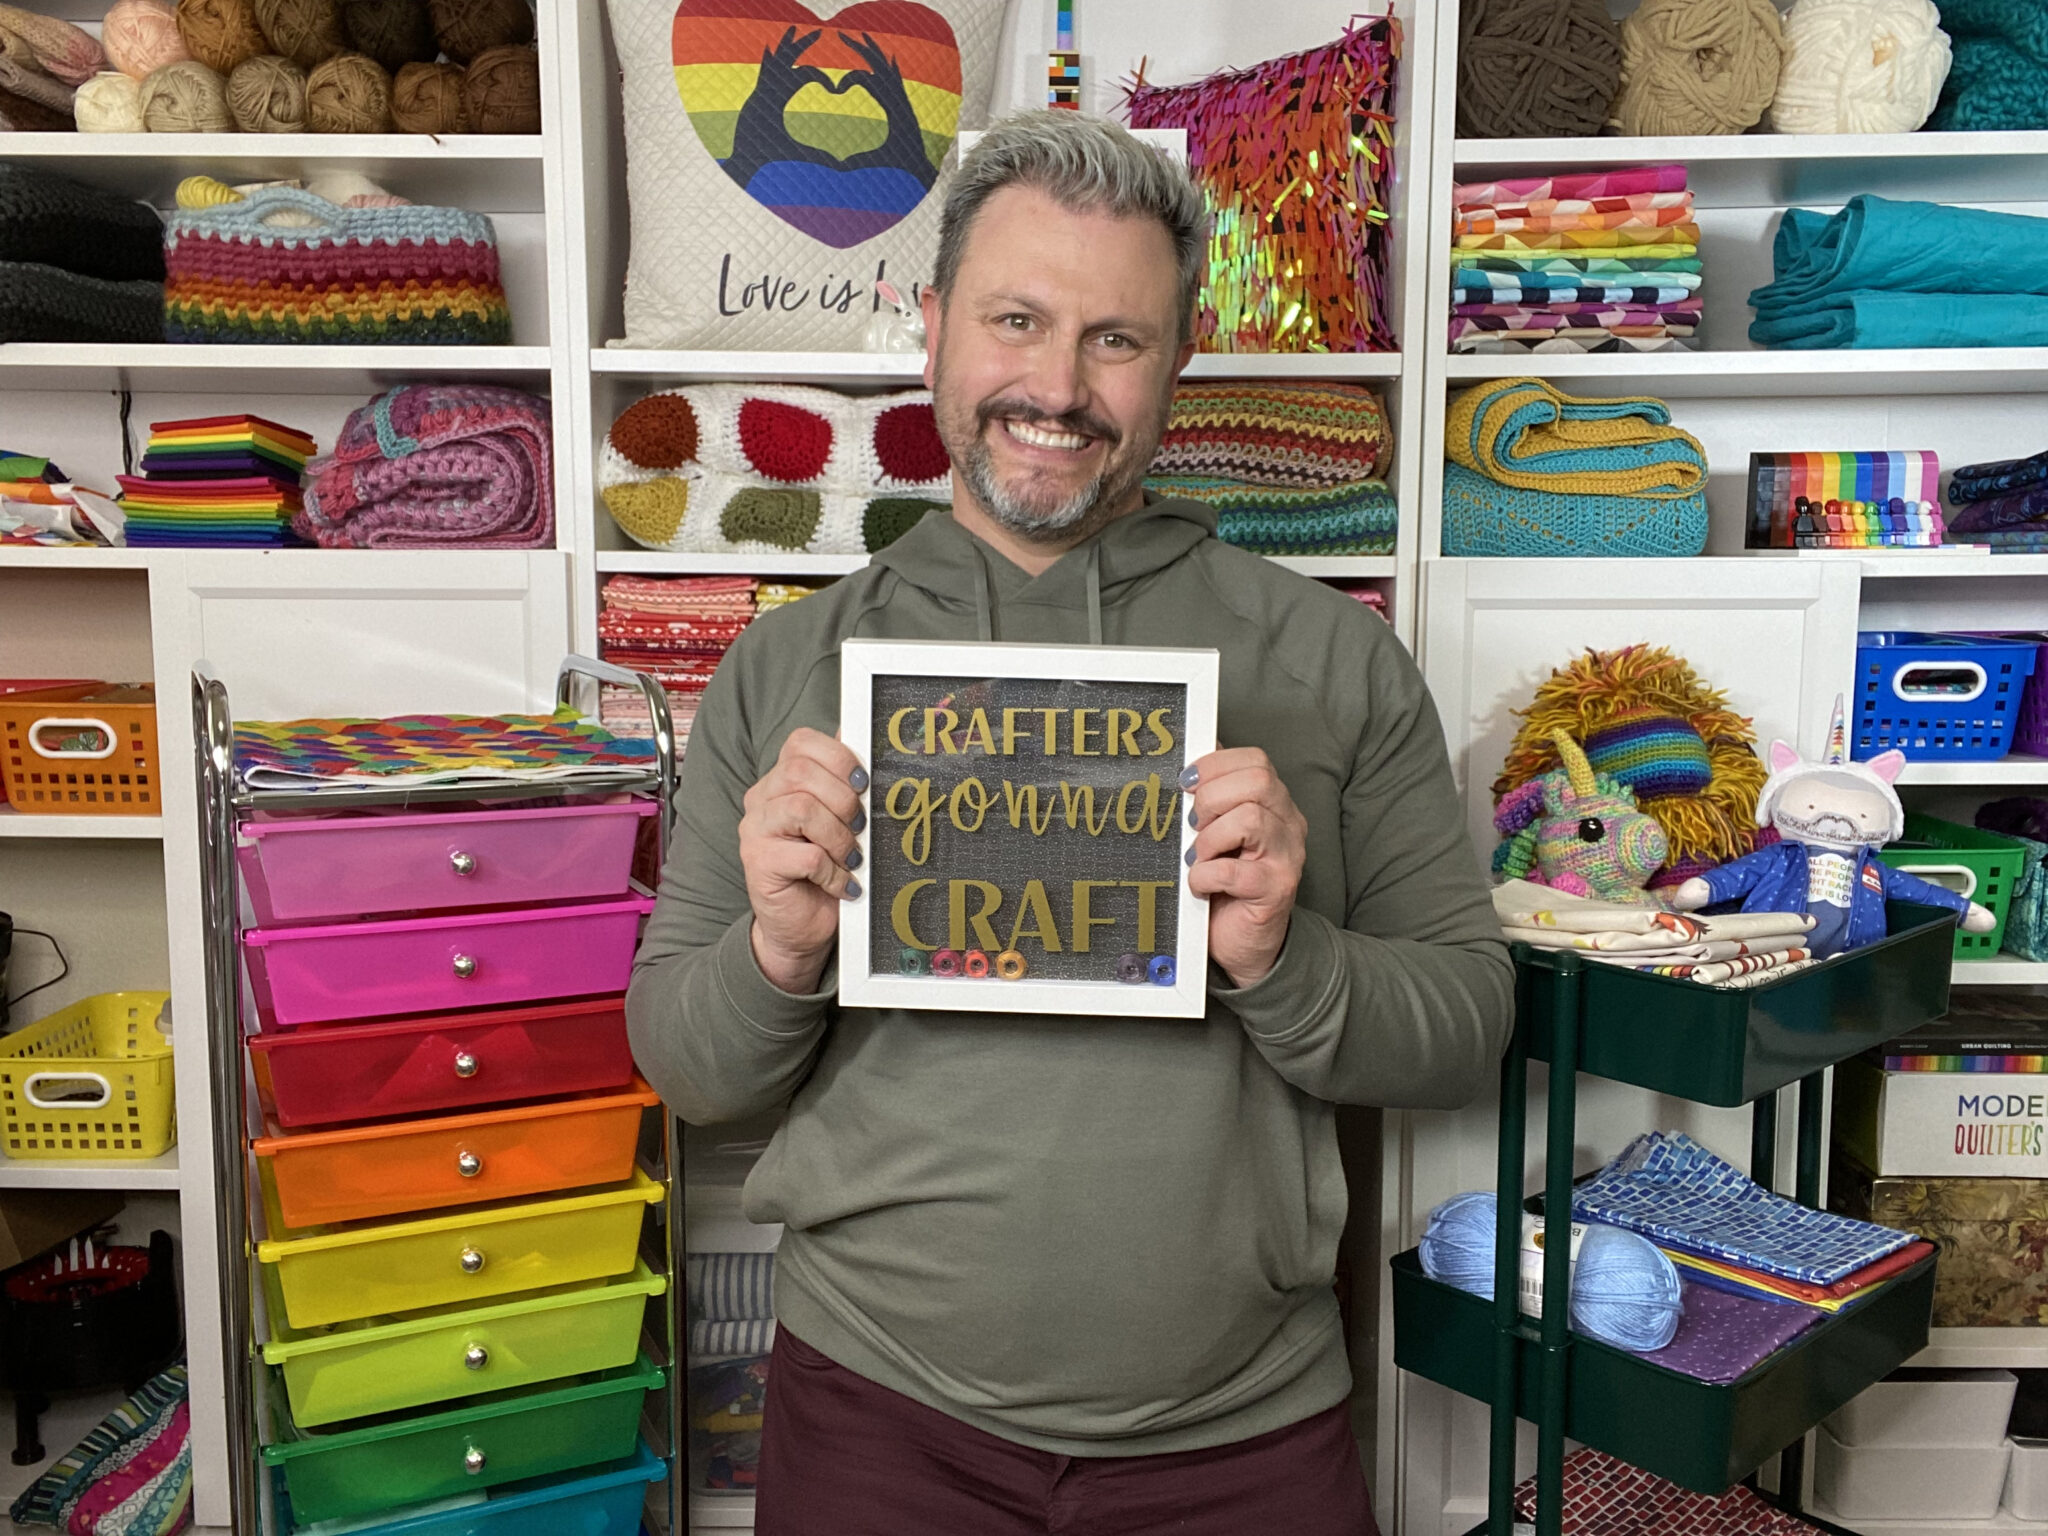
6 Spring cleaning tips for clutter-loving crafters
If you’re a cluttered crafter, like me, it’s time to let go of Instagram-perfect craft rooms. Life is too precious and far too short to strive for the impossible.
I want you to have joy in your life today–not a week from now, or once your craft room is perfect. It’ll never be perfect. But that doesn’t mean you can’t make it work for who you are. Say it with me: I’m a cluttered crafter, and that’s ok!
So what’s a cluttered crafter to do when you can’t find your good fabric scissors, or even get to your sewing machine? Here are some of my tips, not for perfection, but for a more functional craft space. I hope they serve you well.
1. Limit Yourself to 3 “Current Project Bins”
For those of us who want to work on “all the projects” at once, I encourage you to get and label 3 large “Current Project Bins” and place them in an easy-to-access space. Whatever projects you’re currently working on go in these bins. If you have more than 3 current projects, I want you to pick the top 3 and do them first. You’re only human. Unless you’re running a serious crafting business, working on more than 3 projects at once is a recipe for being very busy and finishing nothing.
2. Arrange for Your Workflow Zone
Look at your craft room and identify the places (stations) you work the most. Consider how far apart these stations are. Where do you sit and sew? Where do you iron? Where do you cut fabric? Where is your loom? Arrange your room so you can easily move between your stations without having to travel too far.
For example, a quilter’s workflow zone would include your sewing machine, iron, and fabric cutting area. It may also include your design board, if you use it often. Creating an efficient workflow zone enables you to spend most of your time doing the craft you love, instead of physically moving between stations.
3. Purge Your Craft Room Every 6 to 12 Months
Crafty people get easily excited by new projects. Those of us who tend to be cluttered, often take on way too many projects and end up drowning in the aftermath. Because of this, I highly recommend purging your craft room once or twice a year. Put it on your calendar and just do it.
For a good craft room purge, put on some music, get some snacks, some large plastic bags, bring a friend if you want, and spend an afternoon getting rid of everything you’re not going to use. Make a “give to friend” pile, a “donate pile,” and a “trash” pile/bag. If you have some high-end items to sell, now is the time to take them out of the craft room so you remember to sell them later.
Here are some questions to help you decide what to keep or get rid of.
– Am I still really excited about this project? Or do I just feel guilty for not starting/finishing it?
– Am I actually going to finish this in the next 6 months?
– Do I have a good reason to keep this any longer?
– Could someone else put this to good use before I will?
– For things you’ve had for more than 4 years: Will I ever really finish it?
Freeing up extra space is the key to having a functional craft room. This means staying vigilant about the projects you’re really excited about working on, versus those that no longer serve you.
4. Replace Systems and Items You Don’t Use
Just because an organizational system works for an “organized person” doesn’t mean it will work for you. Rethink the systems you have in place in your craft room. Efficient crafting is all about finding what you need quickly and consistently. Identify the storage systems and items that you use the most and that you find the easiest to use. Now identify the things that aren’t working for you. What keeps you from finding what you need quickly? Does opening five drawers to find the perfect fabric slow you down? If you have boxes, bins, hanging racks, shelves, drawers, and piles of fabric or yarn that slow you down, it’s time to get rid of them and replace them with things that work for you.
Being successful while cluttered means playing to your personal strengths. Instead of putting all of your various scissors together on a pegboard, like organized people do, consider having a “fast access basket” next to your workstation where you keep the tools you often use (AKA the one pair of scissors you use 99% of the time).This basket is where you reach first when you need your most common scissors, extra thread, seam ripper, bone tool, or magnetic pincushion, etc.
When it comes to project planning I’m a visual person, and I like to see what I’m working on. If I’m going to use a storage box, it needs to be clear so I can see what’s in it. If I’m going to pull yarn for a project, I need to see everything I have easily, without having to look behind and under things. For this reason I have a DreamBox that I love, which is basically a big customizable crafting wall that transforms into a cabinet when you’re not using it. This system really helps me see everything I have to work with. However you do it, find out what’s working for you and implement it throughout your craft room.
5. Trash Can Priority Placement
If you have to get up to get to your craft room trash can, you’re working too hard and you probably have trash everywhere because you don’t always have the time to take that piece of thread over and throw it away. Make your life easier and bring that trash can within an arm’s reach of your key workstations. You may need an additional trash can or two depending on the size of your space. For me, one smaller trash can at my feet and a second medium sized one within tossing distance works perfectly for my set-up.
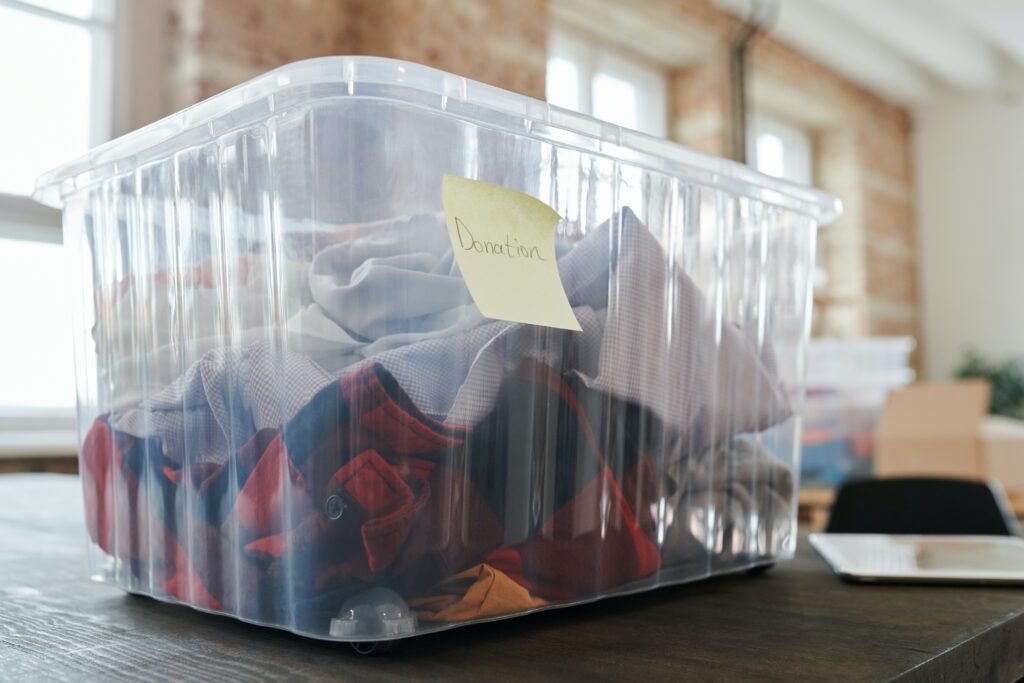
6. Have a Donation Box
Do you have extra fabric or yarn that you’re never going to use? Don’t let it live rent-free in your precious craft space. Send it along to someone who can use it. And I recognize how difficult it may be challenging to rid your space of once-coveted fabric or yarn. But if we aren’t actively removing things as we constantly bring new things in, the clutter will magnify. Keep a dedicated donation box near the door of your craft room and take it to the donation center or your craft guild’s charity group whenever it gets full.
You Can Do It!
It’s ok that you’re a cluttered person. Make it work for you. Let it be your strength. I hope these tips help you create the crafting life you deserve.
If you’ve found a system that works for you, let me know on social media!


